This guide will be helpful if you have a computer, laptop, or other computing device that currently has an operating system (OS) installed which uses GRUB as its boot menu. With this guide you will be able to boot from a Windows USB stick even if USB boot is disabled or the boot menu is locked.
Requirements:
• Windows 8 or newer• USB-Stick (at least 8 GB)
• Windows 10 or 11 ISO
• Rufus
Step 1:
Download the Windows ISO from the official Microsoft webpage .
Step 2:
Download the newest version of Rufus from rufus.ie.
Step 3:
Start the rufus exe file you downloaded.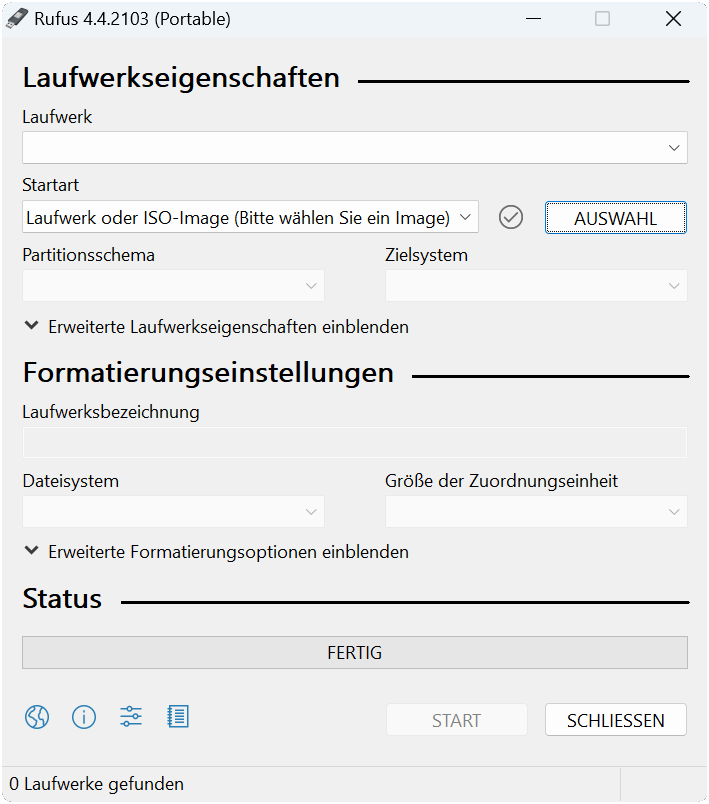
Step 4:
Plug in your USB Stick and select it in rufus.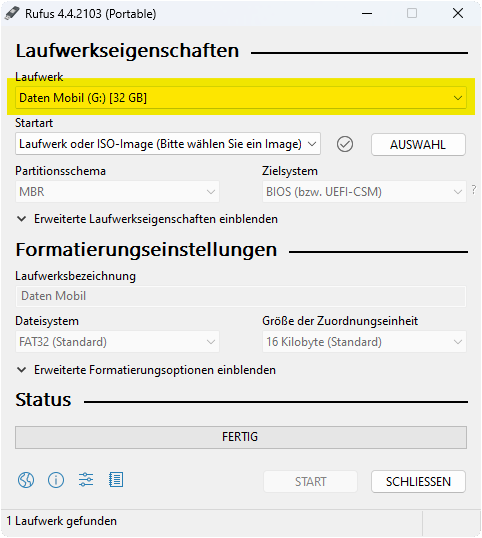
Make sure the USB drive does not have any important data on it, as all data on the drive will be wiped!
Step 5:
Select the Windows ISO you downloaded.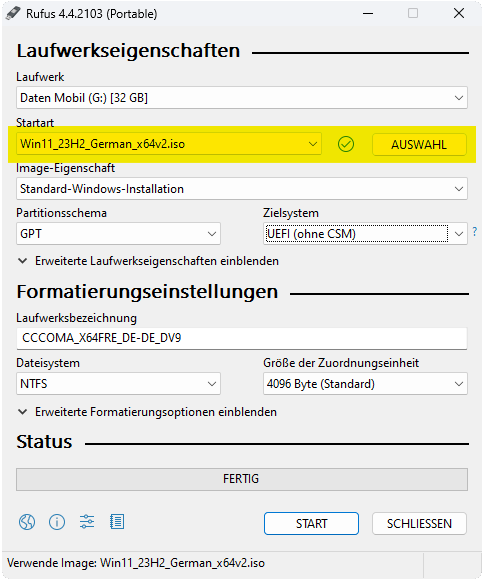
Step 6:
Change the Partition scheme to MBR and press Start to start the flashing of the USB Drive.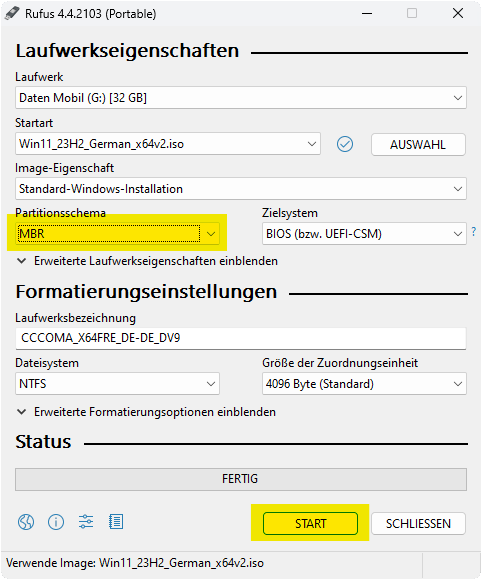
Step 7:
After the flashing has finished, unplug the usb drive and plug it in to the device you want to install Windows on.
Step 8:
Start the computer and press ESC until you see a screen line like this (you may need to time it more precisely if ESC is your BIOS-Key):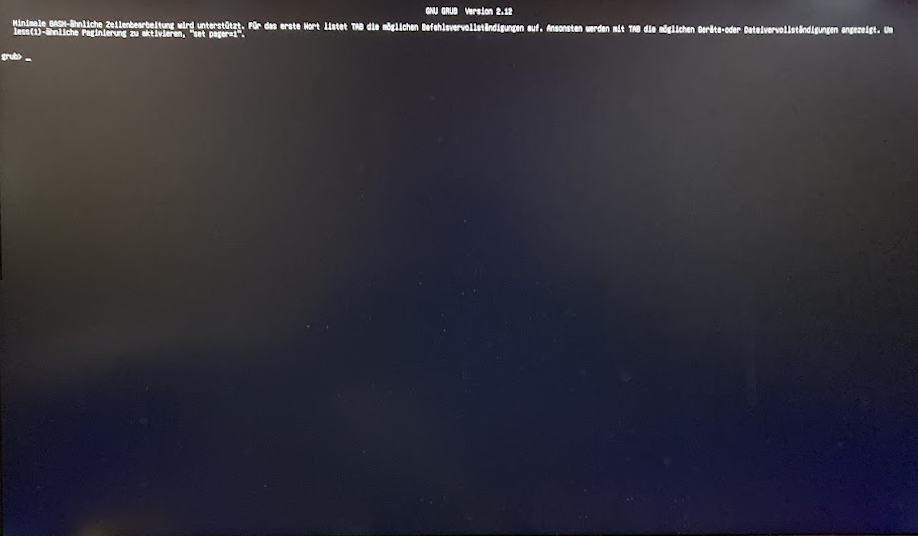
Step 9:
You can enter the command:
ls
to see all available drives and partitions.
Step 10:
Select the boot partition on the Windows USB drive. It will be named something like (hd[NUMBER],msdos[NUMBER]). You can select a partition with the command:
set root=(hd0,msdos1)
The part after the root= should be your Windows boot partition on the USB drive. If you have multiple options you may need to
try all of them.
Step 11:
Select the boot file:
chainloader /efi/Boot/bootx64.efi
If this command fails you might have to try a different partition.
Step 12:
Enter the command:
boot
to boot the selected Windows install.